.svg)


Key Takeaways
- Framer is a no-code platform for designing interactive websites and prototypes.
- It offers AI-powered layouts, built-in CMS, and responsive web design tools.
- Key strengths include animations, collaboration, reusable components, and code integration.
- Limitations involve customization, advanced interactions, fonts, and tool integrations.
- Overall, Framer simplifies website design but requires coding for complex projects.
Whenever you will talk about the best UX design tools for designers, the name Framer will appear on the top few options. Yes, Framer is a very popular platform for website design where they can comfortably design digital products like websites, apps, software, etc.
Well, if we plan to talk about all the uses of this amazing tool, we can’t make it a short discussion. So, let’s talk about Framer for website design. Certainly, this tool is a nice option for designing a website. The new AI integration has made things more convenient.
In today’s discussion, we will try to cover Framer for website design properly. We won’t be biased by talking only about its good sides. Here, you’ll learn all the pluses and minuses. So, don’t skip anyway.
What is a Framer?
Framer is a popular no-code platform for designing and prototyping. Nowadays, this tool has been hyped for its easy-to-use function and clean interface. With Framer, designers can easily create reciprocal interfaces for websites, mobile apps, and other digital products.
You want to make high-fidelity prototypes. Guess what, it is very easy with this tool as well. These prototypes can simulate the look and feel of the final product. So, it becomes easier for users to get a hint of the final product in advance.
However, this advanced tool also comes with a lot of cool features. That's why it has become so popular among user experience (UX) and user interface (UI) designers. Let's check out some of the key features and aspects of Framer below:
How is Framer for Websites?
Framer is an excellent choice for designing modern, responsive websites with minimal coding. It’s great for landing pages, portfolios, and startups needing quick deployment. Framer design services works best for visually-driven websites with smooth animations. However, Framer may not be ideal for complex web applications requiring extensive backend functionality.
Key Features of Framer for Websites
- User-Friendly Interface – Drag-and-drop functionality for seamless design.
- AI-Powered Design – Automates layout generation for professional results.
- Responsive & Fast – Ensures mobile-friendly, high-speed websites.
- Built-in CMS – Manage content efficiently without third-party tools.
- Advanced Animations – Create smooth interactions with no coding required.
Features of Framer
Framer is pretty much a beginner-friendly prototyping and designing tool. It was built in 2014 and has been getting numerous updates since then. From time to time, the developers bring new features for the users.
However, let's check out the common features of this exciting design tool:
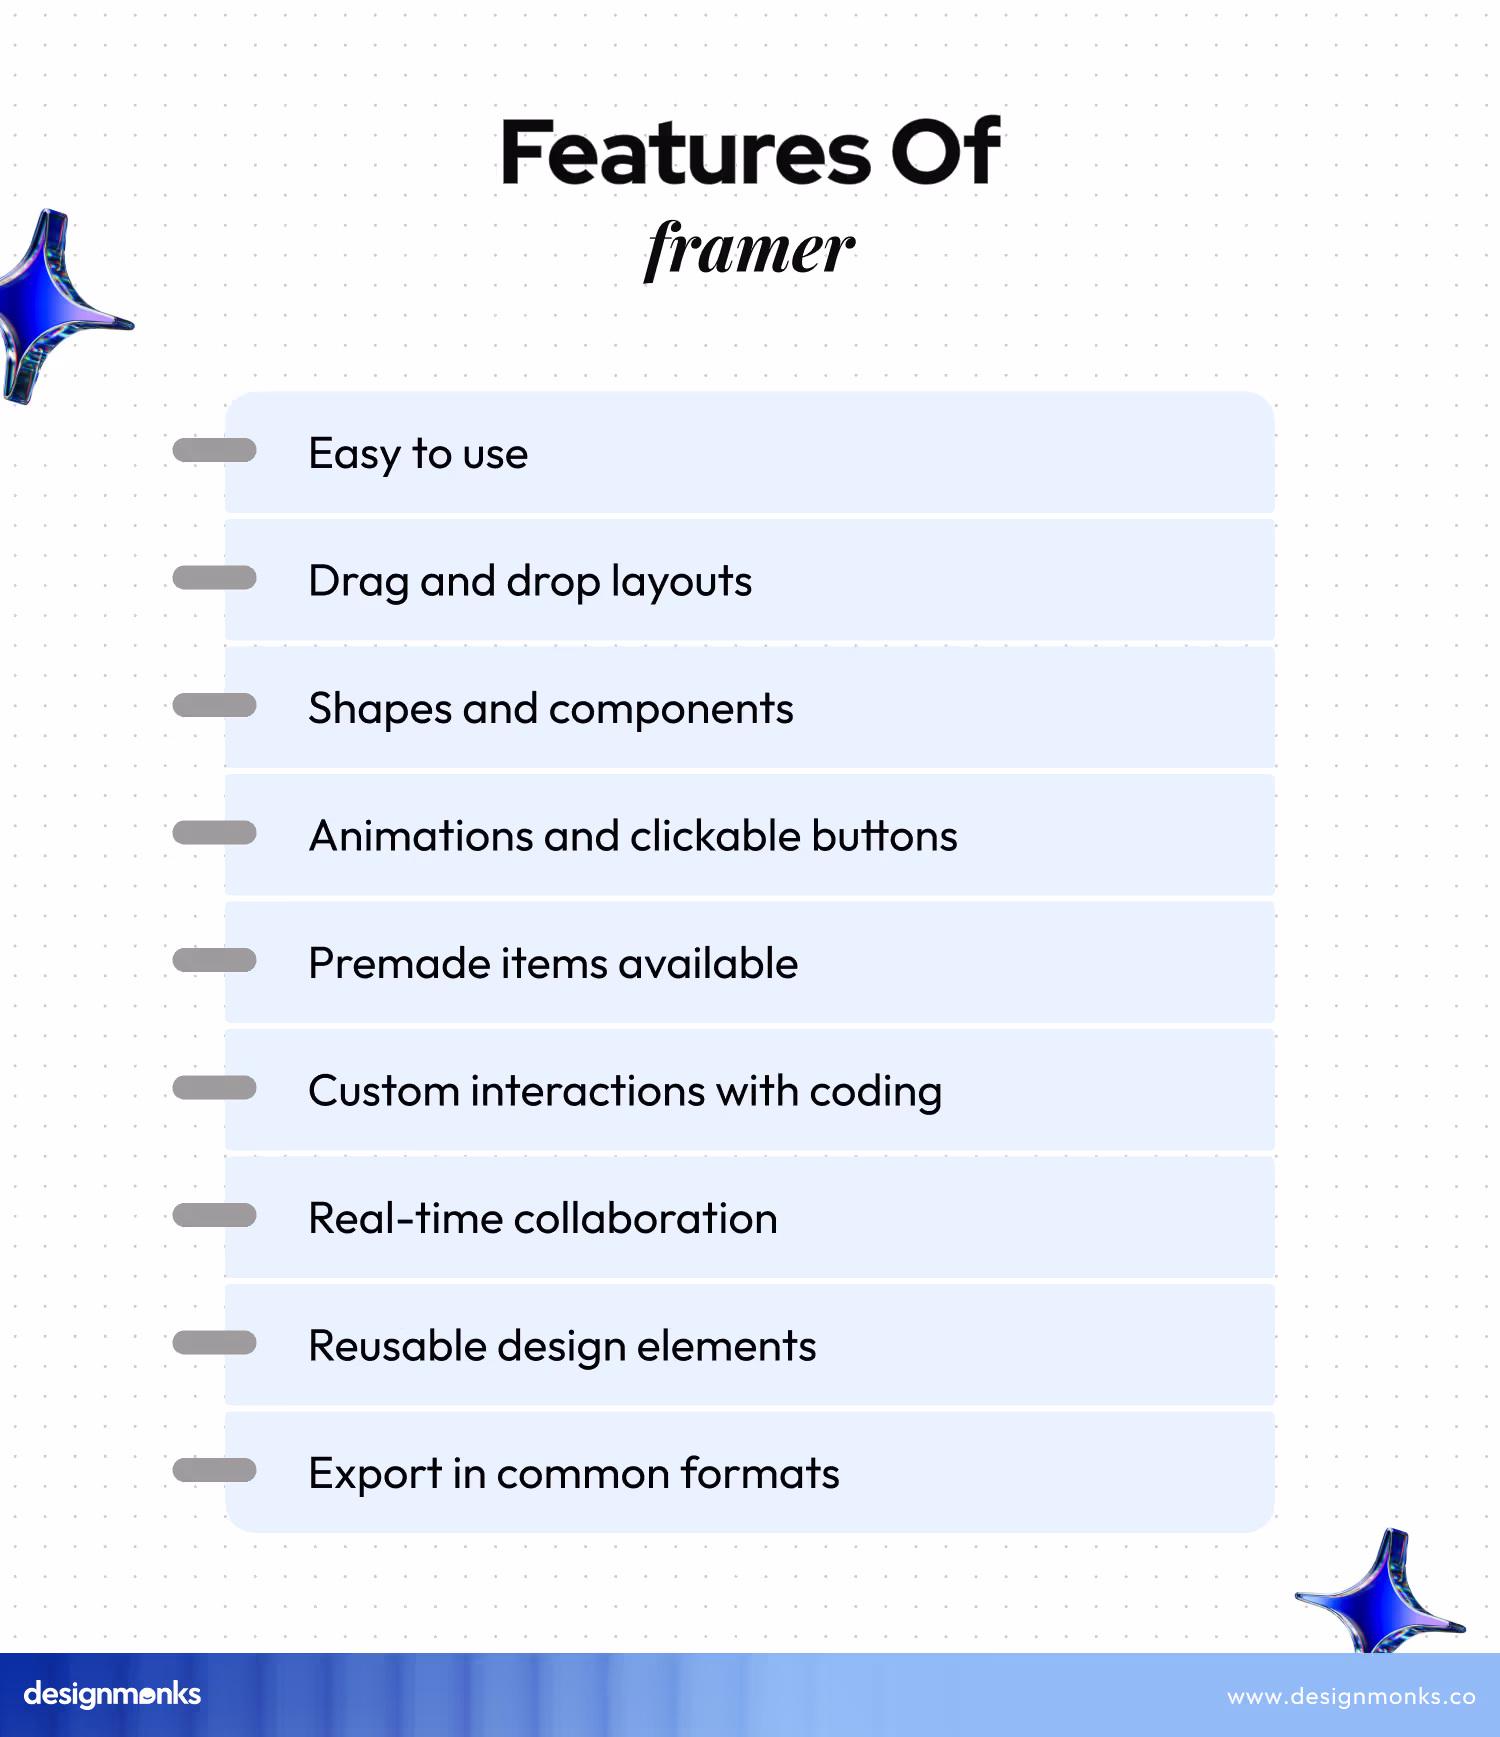
- With Framer, you create layouts, shapes, and components just by dragging and dropping. It's pretty much like drawing on paper but on your computer.
- You can add animations and clickable buttons to your designs. Eventually, there are tons of pre-made items to use in this tool.
- If you know a bit of coding, you can add custom interactions and content to your designs. This idea will make your design even more interactive.
- Framer comes with a better collaboration approach. It lets multiple people work on the same project at the same time.
- You can save design elements and use them in different projects anytime you want. This approach will save you time and effort.
- When your design is ready, you can export it in almost all common formats to share with developers or clients.
How to Use Framer to Build A Website?
You no longer need to follow the traditional way to build a website design if you use Framer. Recently Framer has brought a new AI tool for building websites and become popular for agencies as well.. You can now make your own website in a few minutes. Just, make sure to follow the right guidance and have a plan in mind. Here’s a simple guide to get you started with Framer website builder:

Step 1: Learn Well About Your Purpose and Audience
First, decide why you’re creating the website. It can be for a business, a personal blog, or a portfolio. Make sure to know your purpose very well. It'll help you design a site that meets your goals.
Next, think about who will visit your site. Understanding your audience helps you create content and a design that appeals to them. You should have a clear concept of your audience before planning the structure. It'll help you stay on the right track.
Step 2: Plan Your Site Structure
Next, outline the structure of your website. Make a list of the main pages you need, like Home, About, Services, Blog, and Contact. You should also create a simple sitemap to visualize how these pages will connect. This planning ensures that visitors can easily navigate your site.
Step 3: Design the Layout
Framer AI website builder offers tons of templates to help you start designing your site. Wisely choose a template that fits your purpose and audience. Think about the layout of each page. Where will you place the header, footer, main content, and sidebars? Keep it clean and simple for a better user experience.
Step 4: Customize Visual Elements
Customizing the visual elements in Framer is fun and easy. Well, make sure to match it to your brand. Focus on factors like colors, fonts, and images. Use Framer’s design tools to adjust these elements easily.
Also, make sure the colors and fonts are consistent across all pages. High-quality images can make your site look professional. You can use stock photos or your own images.
Another nice way is to experiment with different elements to see what it looks like. Framer's undo option is always there for you. So, you can experiment with anything like layouts, templates, and any elements.
Step 5: Add Interactive Components
Interactive components like forms, buttons, and links make your site more engaging. Use Framer’s built-in features to add these elements. For example, add a contact form to your Contact page so visitors can easily get in touch. You can also use buttons to guide users to different parts of your site. Make sure all links are working properly.
Step 6: Prioritize Responsiveness the Most

Your website should look good on all devices, including desktops, tablets, and smartphones. Framer automatically makes your site responsive, but you should still check it on different devices. Adjust the design if needed to ensure everything looks great and works well.
Step 7: Publish and Test
Once you’re happy with your site, it’s time to publish it. Framer makes this process simple—just click the publish button. After publishing, test your site thoroughly.
You should also check all pages, links, and interactive components. Don't forget to ask friends or colleagues to visit the site and give feedback. Fix any issues that come up.
So, these are the easy steps, you can create a professional and effective website using Framer. Make sure to keep your purpose and audience in mind throughout the process, and don’t hesitate to make adjustments as needed.
Framer User Tips for Beginners
We won't say that using Framer for website design for the very first time is not an uphill battle. Also, this tool is not just for building websites. You can do a lot more things. However, if you are on the right track, things may seem easier than usual.
We can help you with some beginner-friendly tips to use Framer. Following them will give you an easier vibe in the beginning.
Using Frames and Stacks
You should first familiarize yourself with Frames and Stacks. Frames are like containers for your elements, while Stacks help you organize these elements in a structured layout. Using Stacks can save you time by automatically arranging items in rows or columns. So, learn them well in the beginning.
Learn Positioning Elements
Next, you should understand the difference between relative and absolute positioning. Relative positioning moves elements in relation to their current position, which is great for simple layouts.
Absolute positioning places elements exactly where you want them on the screen, useful for more precise control. Once you learn when to use each type, it will help you create cleaner and more flexible designs.
Take Time to Learn Incorporating Custom Code
Don’t be afraid to use custom code. Framer allows you to add JavaScript to enhance your prototypes. Even basic knowledge of coding can help you add custom interactions and functionality. It can make your prototypes more realistic.
Prioritize Creating Code Components
You should also learn how to create code components. These are reusable pieces of code that you can use throughout your project. Code components help you maintain consistency and save time by not having to recreate the same elements repeatedly.
Learn Adding Meta Data
Don’t forget to add site metadata. This includes titles, descriptions, and keywords that help with search engine optimization (SEO). Proper metadata makes your site more discoverable and provides a better experience for users.
Try Minimizing Code
You should always try to minimize your code. Keep your code clean and simple. This not only makes your project easier to manage but also reduces the likelihood of errors and improves performance.
Optimizing Assets Is Useful
You should also learn to optimize your assets like images and videos. Use compressed files to reduce load times. This will make your prototype more responsive and provide a better user experience.
Use CMS Collections
Learn to utilize CMS (Content Management System) collections. This feature allows you to manage dynamic content easily. Instead of hardcoding data, you can create collections that store information, making it easier to update and maintain your project.
Why Should You Use Framer?
Essentially, there are tons of benefits to using this tool for UI/UX designers. Let’s check out Framer's advantages for website design:
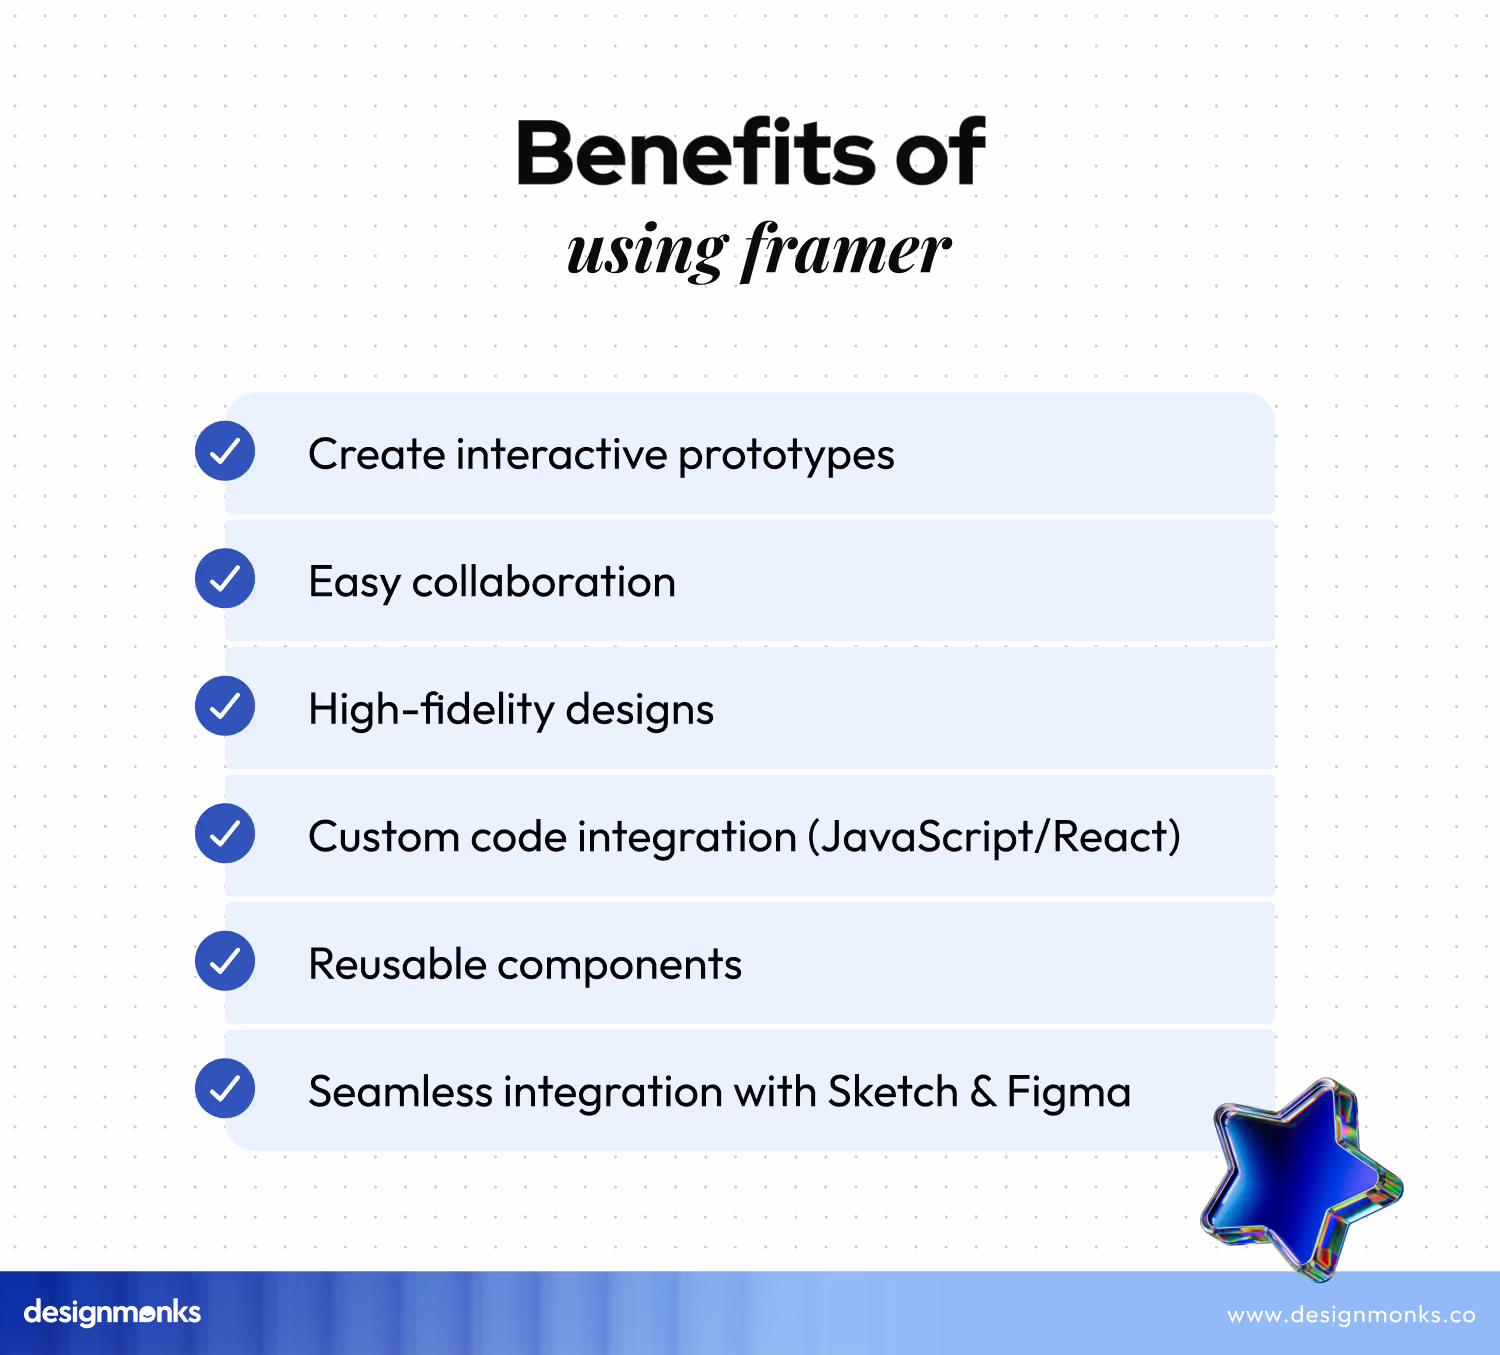
Lets You Create Interactive Prototypes
Framer lets you build interactive prototypes that look and feel like real apps or websites. You can add buttons, animations, and transitions to show exactly how users will interact with your design. This makes it easier to test and refine your ideas before building the final product.
Collaboration Is Super-easy
This tool lets multiple people work on the same project at the same time. This is great for teams, as designers, developers, and stakeholders can all give feedback. Also, they can make changes together. It speeds up the design process. Moreover, it musters everyone on the same page.
Let’s You Make High-Fidelity Designs
With Framer, you can create detailed and polished designs. The tool includes a variety of design features like vector editing, layout grids, and responsive design tools. It helps you create professional-looking prototypes. These prototypes closely match your vision for the final product.
Custom Code Integration Power Is Great
Framer supports adding custom code. It means you can create more advanced interactions and dynamic content. Also, you can use JavaScript and React to add logic and connect your design to real data. Thus it can make your prototypes even more realistic and functional.
Reusable Components Are Easy to Make
Framer lets you create reusable components, like buttons, or navigation bars. Also, you can use them across multiple projects. This saves time and ensures consistency in your designs. You can also use pre-built components from Framer’s library. So, it will speed up your work.
Seamless Integration Ability
Framer works well with other popular design tools like Sketch and Figma. You can easily import your designs from these tools into Framer. Thus, you can add interactions and animations. This makes it easy to enhance your existing designs. Also, you don't have to start from scratch.
Undoubtedly, Framer is a versatile tool. It helps you to create interactive and high-quality prototypes. Also, it can help you collaborate, and integrate with other design tools.
Limitations of Framer
Framer is for sure, a great tool for website design. Like all great things, it does have some limitations. Here are some of the major limitations you may have to face with this tool:
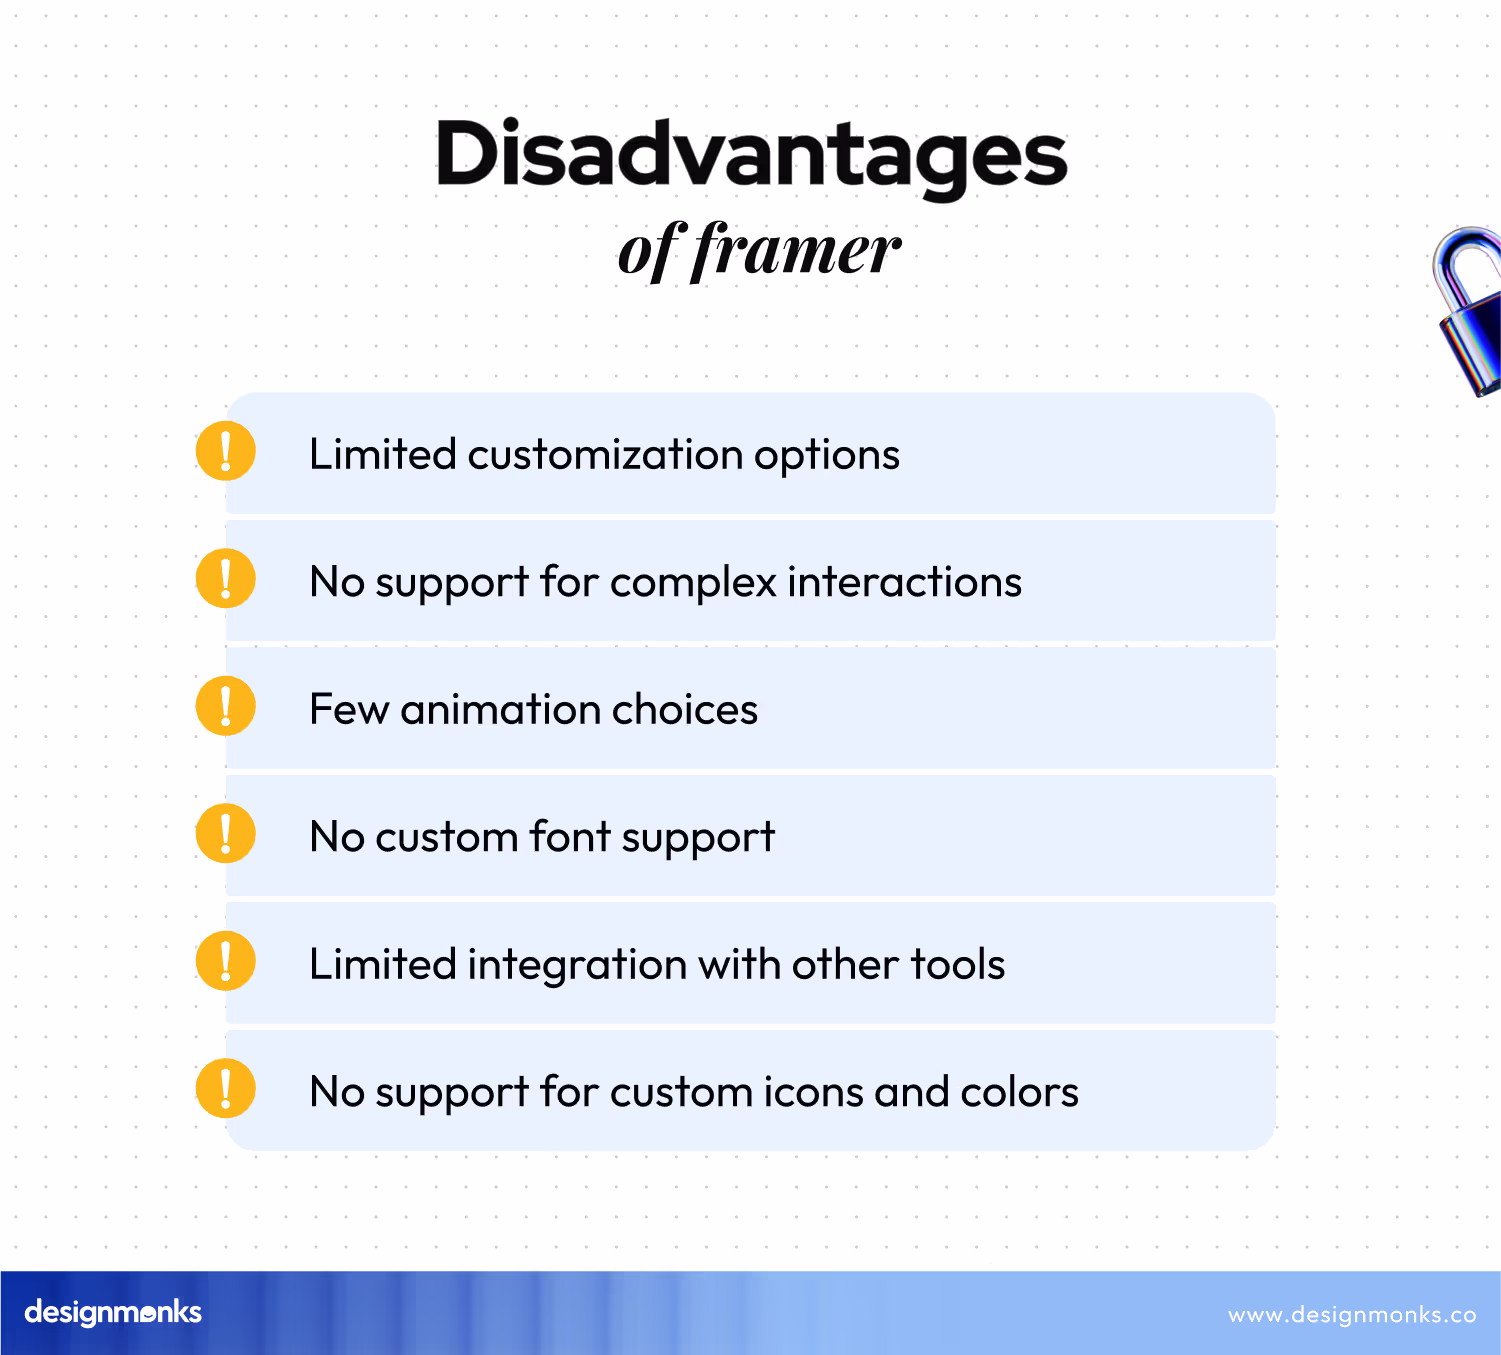
Limited Customization
Framer comes with many features, but it doesn't let as much customization as some designers might need. This means you might not be able to tweak every small detail exactly the way you want. This can be frustrating if you have very specific design requirements.
No Support for Complex Interactions
While Framer is good for basic interactions, it struggles with more complex ones. If you need advanced features like detailed user input handling or intricate animations, Framer might not be the best tool.
This limitation can make it difficult to fully simulate the user experience for complex apps or websites.
Limited Animation Options
Framer lets you add animations to your designs. Keep in mind, the options are somewhat limited. You might not be able to create all the animation effects you envision. For designers who want highly detailed animations, this can be a significant drawback.
No Support for Custom Fonts
If you want to use special fonts that are not included in Framer, you might be out of luck. Framer does not support adding custom fonts. So, it can significantly limit your ability to create a unique or branded design.
Limited Integration Options
Framer doesn't integrate with as many other tools and services as some designers might need. For example, if you use a specific tool for user testing or a particular development platform, you might find that Framer doesn't connect with it. This can add extra work in transferring your designs between different tools.
No Support for Custom Icons and Colors
Framer has a set of built-in icons and colors. On the other hand, it does not support adding your own custom icons or colors easily. This can be a problem if you need to follow a specific brand guideline. It is also true if you want to use unique visual elements in your design.
Framer is a powerful design tool, but it has some limitations. They are mostly in the field of customization, complex interactions, animation options, and integration with other tools.

FAQs
Is Framer better than Figma?
Framer and Figma serve different needs. Framer is better for creating interactive prototypes with advanced animations, while Figma works nicely in collaborative design and vector editing. The best choice depends on your project's requirements and workflow preferences.
Is Framer free to use?
Framer offers a free plan with basic features suitable for individual users and small projects for website design. There are also paid plans with additional features and capabilities for more advanced projects and team collaborations.
Can framer AI handle complex website designs?
Yes, Framer AI can handle complex website designs, but with limitations. It excels in generating visually appealing, responsive layouts quickly. However, for highly customized functionality, intricate animations, or advanced backend integration, manual adjustments and coding may be necessary. Designers often use Framer AI as a starting point, refining details manually.
Is framer a CMS?
Yes, Framer functions as a CMS, offering design, content management, and publishing tools. It allows users to create, edit, and manage websites visually, but it's more design-focused than traditional CMS platforms.
Does Framer require coding?
Framer does not require coding for website design and prototyping. It provides an intuitive interface for creating interactive elements. However, for advanced customizations and complex interactions, Framer supports coding in JavaScript.
Where can you find the best Framer JS designers?
Design Monks is the best place to find top Framer JS developers. The framer development agency offers expert design and development services with deep experience in Framer JS, ensuring high-quality results for your projects
Wrap Up
So, this is for today about Framer. Even though we use Figma more than Framer, this one is something most of my team members truly love. Well, the new AI addition to Framer is pretty well and beneficial. Someday, we’ll talk about it in detail.
However, if it’s the first time you are planning to use Framer, make sure to see a lot of tutorial videos. You can keep an eye on our YouTube channel. We have plans to cover some Framer for website design tutorials soon. Best of luck.

.avif)
.avif)
.avif)
.avif)


.avif)
.avif)
.avif)
.avif)


.avif)