.svg)


Key Takeaways
- Figma-to-web plugins remove traditional handoff between designers and developers.
- Direct publishing speeds up launches while maintaining full design consistency.
- Most tools support responsive layouts without extra development effort.
- Real-time collaboration makes live updates faster and easier for teams.
- Plugins like Framer and Webflow simplify hosting and customization workflows.
Efficient design-to-web workflows are more critical than ever as we all want to save time and effort. Figma, the leading design tool has understood this need and now lets users publish the Figma website on the web directly.
This capability lets us get rid of the traditional handoff between designers and developers. As a result, we can take our designs from concept to live site quickly and seamlessly.
So, if you are looking to streamline your process or a business aiming to reduce development costs, you should learn how to publish directly from Figma is a valuable skill. This post will guide you through the steps of using 8 different plugins.
Why Do You Need to Publish Website Directly from Figma to Web?
Before we meet the best plugins to publish the Figma website on the web, you should learn why this task is necessary for you to learn. The following points will help you understand the necessity of this process in streamlining your design project.
Increase Speed and Efficiency
By directly converting designs into a live website, you can significantly reduce the time spent on hand-coding. This streamlined process lets you quickly bring your ideas to life without waiting on developers.
Ensure Design Consistency
When you publish directly from Figma, the visual integrity of your design remains intact. There’s no need to worry about discrepancies between design and implementation, as the transition from Figma to the web is seamless.
It's Easy to Use
Figma’s user-friendly interface, combined with plugins lets you publish the website directly. This process makes the process accessible even to those with limited coding experience. This way, the process helps designers manage the entire project from concept to deployment.
Offer Real-Time Collaboration
Figma’s collaborative features are extended to the web publishing process. Teams can work together, make updates, and see changes reflected immediately on the live site.
It's Affordable
By bypassing traditional development steps, you can save on costs associated with hiring developers or outsourcing the coding process. As a result, the overall cost of the entire project will be reduced.
Ensure Responsive Design
Many plugins let you directly publish the web and support responsive design. These plugins will ensure that your website looks great on all devices. For that, you don't have to go for any extra effort.
8 Plugins to Publish Figma Website on the Web
Now, let’s come to where we were been. Here, I will introduce you to 8 different tools that let you easily export a Figma website into code. The process of using these plugins is more or less similar. I have given the details. So, check the details and choose the one that suits you the best.
1. Detachless
You don't need to use a lot of tools to publish your Figma website on the web if you use Detachless. It's easy to export the design from Figma to code using this plugin. Let's how to use it:
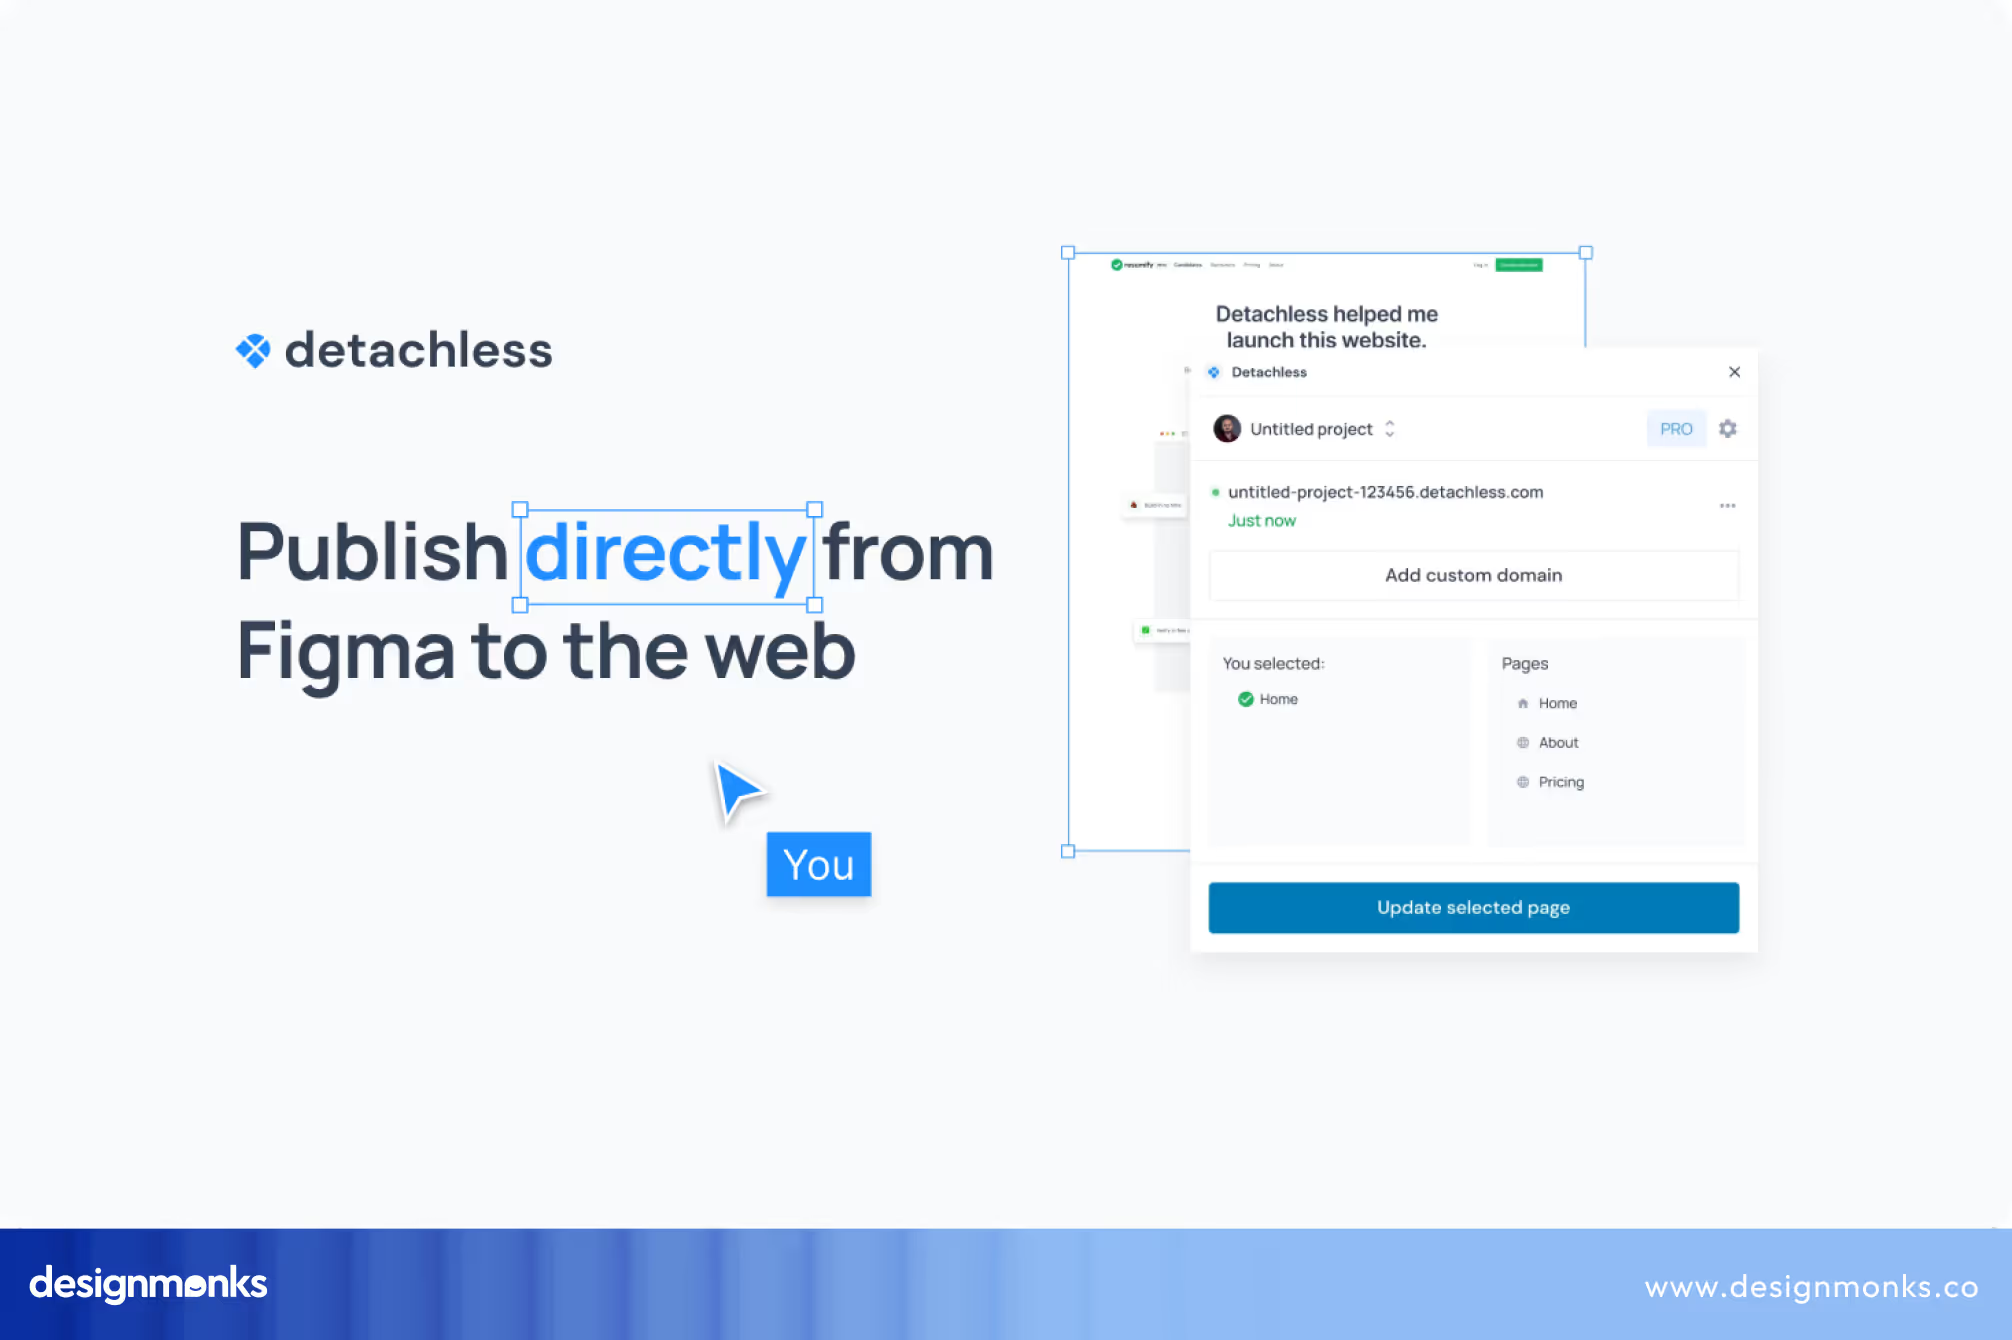
- Install Detachless: Sign up or log in to Detachless after installing it. It'll let you publish Figma designs as live websites without using codes or exporting them manually.
- Prepare Your Figma Design: Organize the layers with clear naming conventions and use Figma’s Auto Layout for a responsive design.
- Connect Figma to Detachless: Link your Figma account to Detachless to easily pull designs directly into the platform.
- Publish Your Design: Select the frames to publish and use Detachless to convert and host them and bring your design to life.
- Customize and Manage: After publishing, you can edit content and monitor your website's performance directly in Detachless.
2. Framer
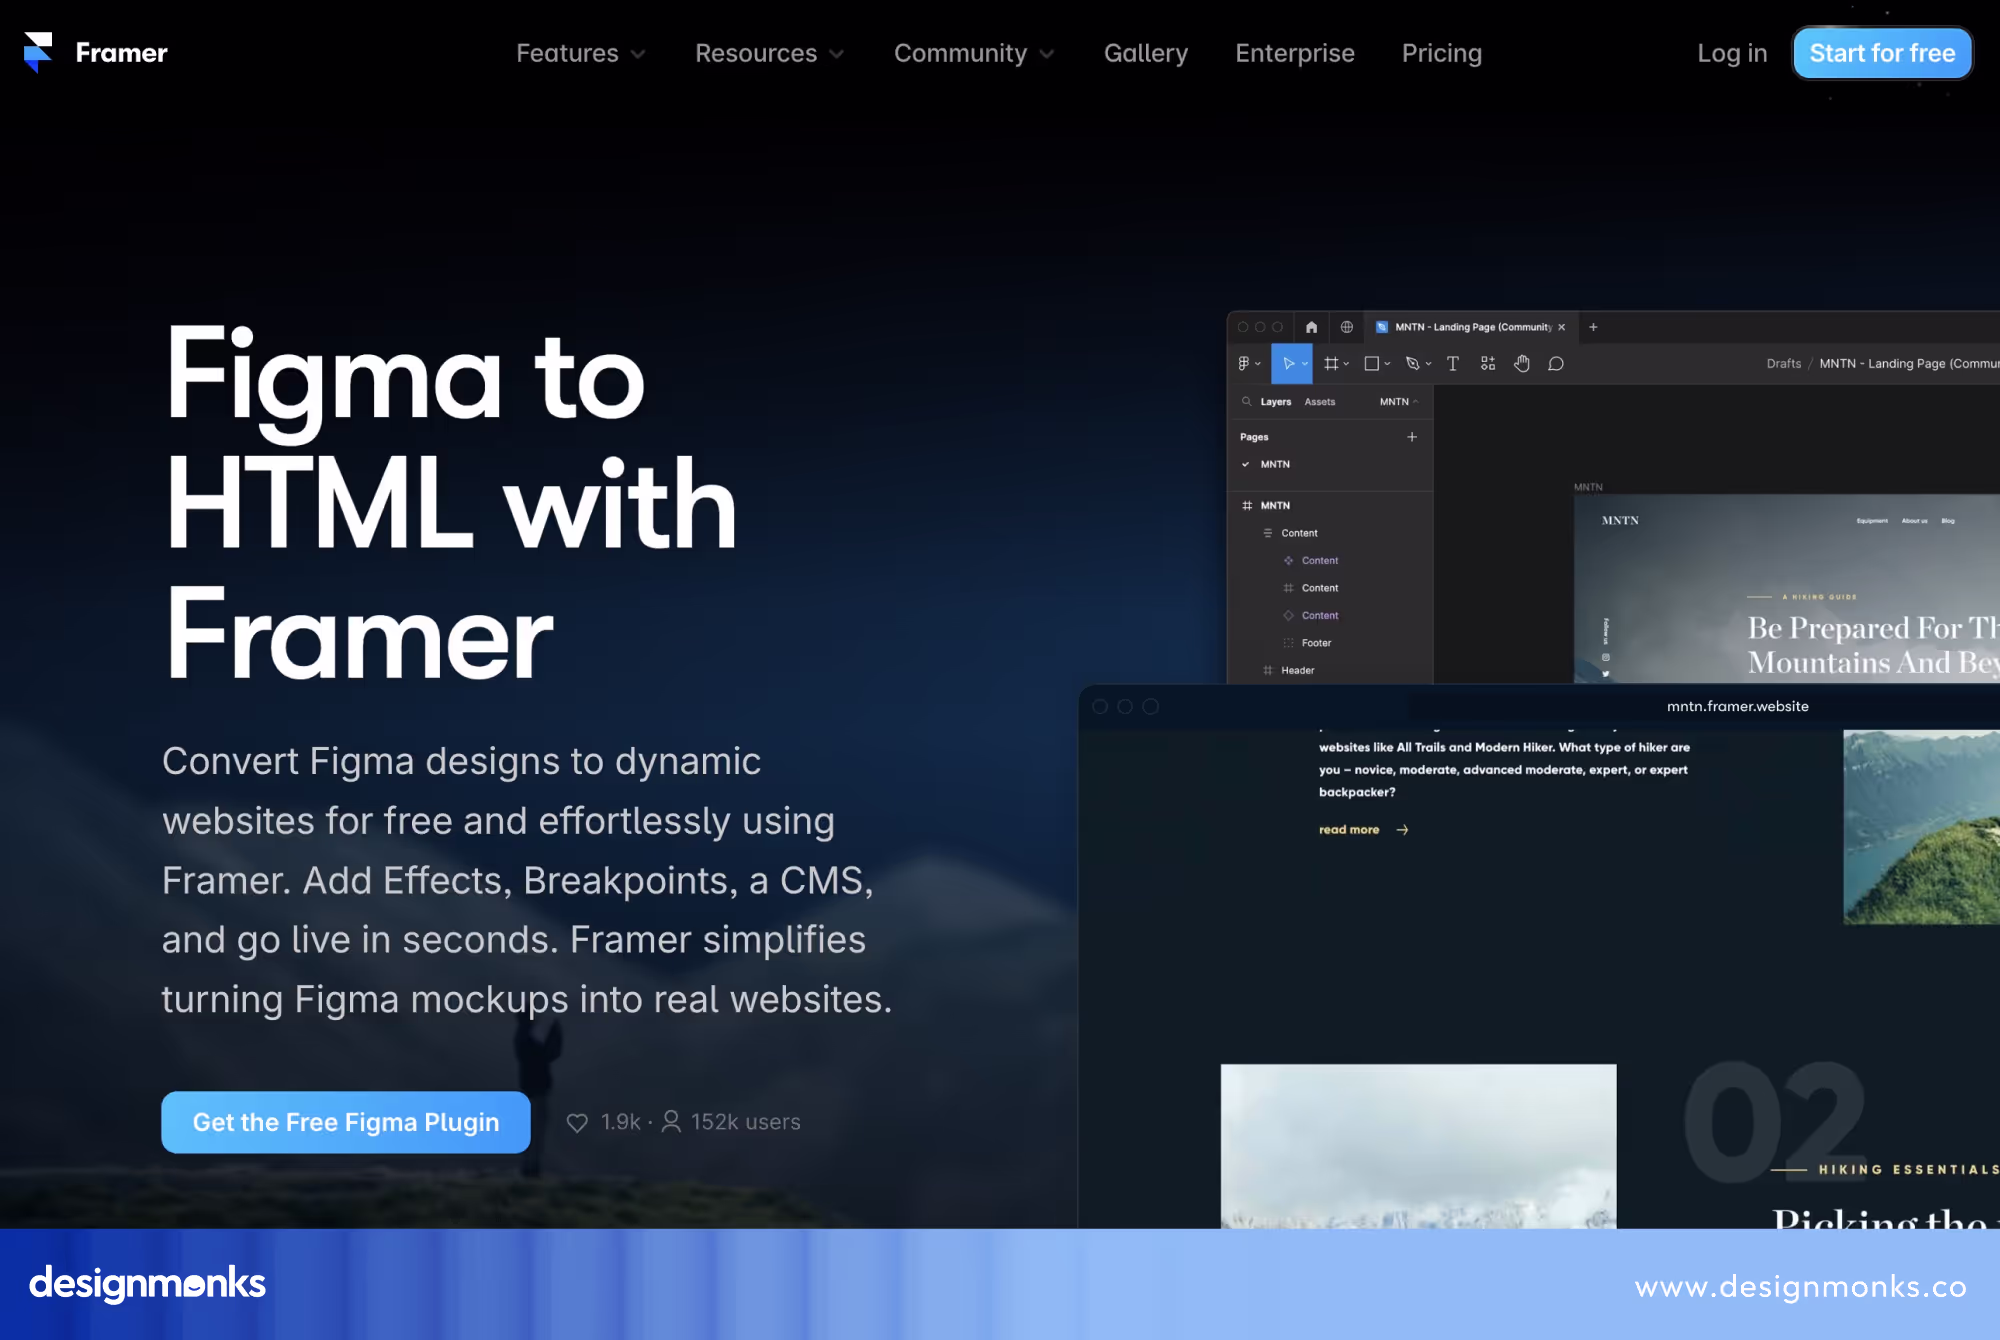
Publishing the Figma website directly on the web is free and easy with Framer. Here, Framer also lets you add some personalized features like effects and breakpoints to the website. Here are the detailed instructions on how you can use Framer to publish a website from Figma to the web:
Step 1: Prepare Your Figma Design
First, you need to prepare the website using Auto Layout. Then, set constraints to ensure your design translates well into Framer. Make sure to properly name your layers for better organization during import.
Step 2: Install Figma to HTML Plugin
In Figma, select the "Figma to HTML with Framer" plugin. Install it. This feature will let you copy your design elements for easy import into Framer.
Step 3: Import into Framer
Now, copy your Figma layers and paste them into a new or existing project in Framer. Adjust the layout as needed, especially for any display issues that arise.
Step 4: Enhance in Framer
Your website is almost ready to publish. At this phase, you can add animations and interactions to personalize your website a little more. For that, use Framer’s tools to enhance the design.
Step 5: Publish
When you're done adding elements to personalize the design, you can publish your website directly from Framer. You can host it on a Framer subdomain or connect a custom domain with a paid plan.
3. Webflow
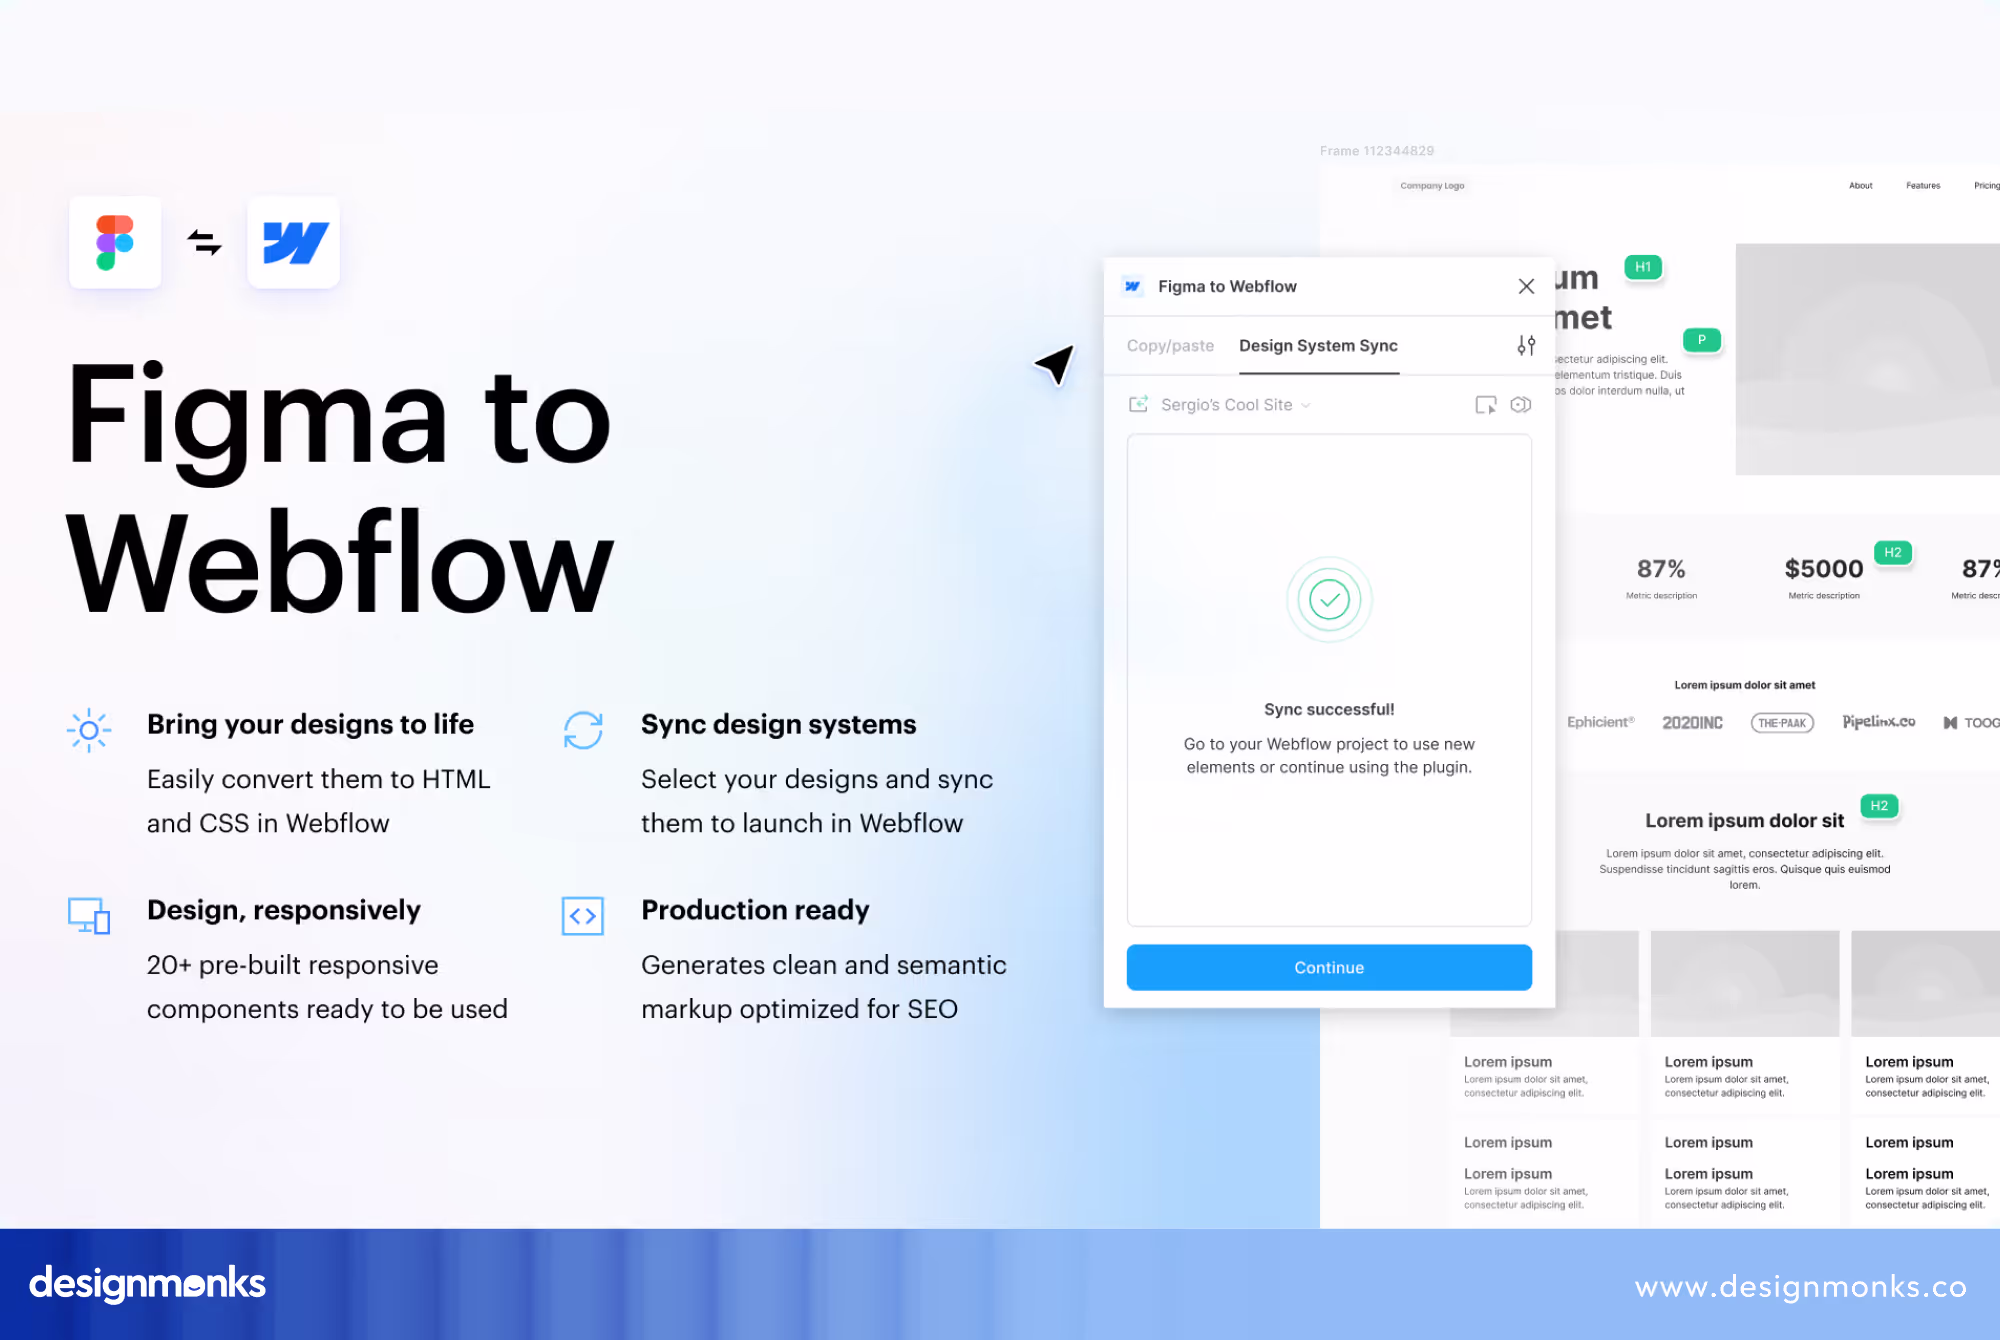
Like Framer, you can also use Webflow to publish the Figma website directly on the web. The process is pretty similar with little changes. Let’s see how you can try it:
Step 1: Install the Figma to Webflow Plugin
First, install the "Figma to Webflow" plugin from Figma’s Plugins section. This plugin lets you seamlessly transfer your designs from Figma to Webflow with easy integration.
Step 2: Prepare Your Figma Design
Next, organize your design layers with clear and consistent naming conventions. You can use Figma’s Auto Layout feature to create a responsive design that will translate well into Webflow’s environment. It'll make your layout adaptable to different screen sizes.
Step 3: Sync Your Design to Webflow
Now, open the plugin and log in to your Webflow account. Choose the frames or components you want to transfer and sync them to Webflow. The plugin converts your Figma design into production-ready HTML and CSS within Webflow. This process will streamline the development process.
Step 4: Customize in Webflow
After syncing, refine your design directly in Webflow. Try to adjust layouts, add interactions, and utilize Webflow’s CMS to enhance your site with dynamic content and animations. It'll ensure that everything appears and functions as intended.
Step 5: Publish Your Website
In Webflow, set up your hosting preferences. Once you’ve finalized your design, click the publish button to make your website live. Your site will be accessible via Webflow’s URL or a custom domain if configured.
4. Anima
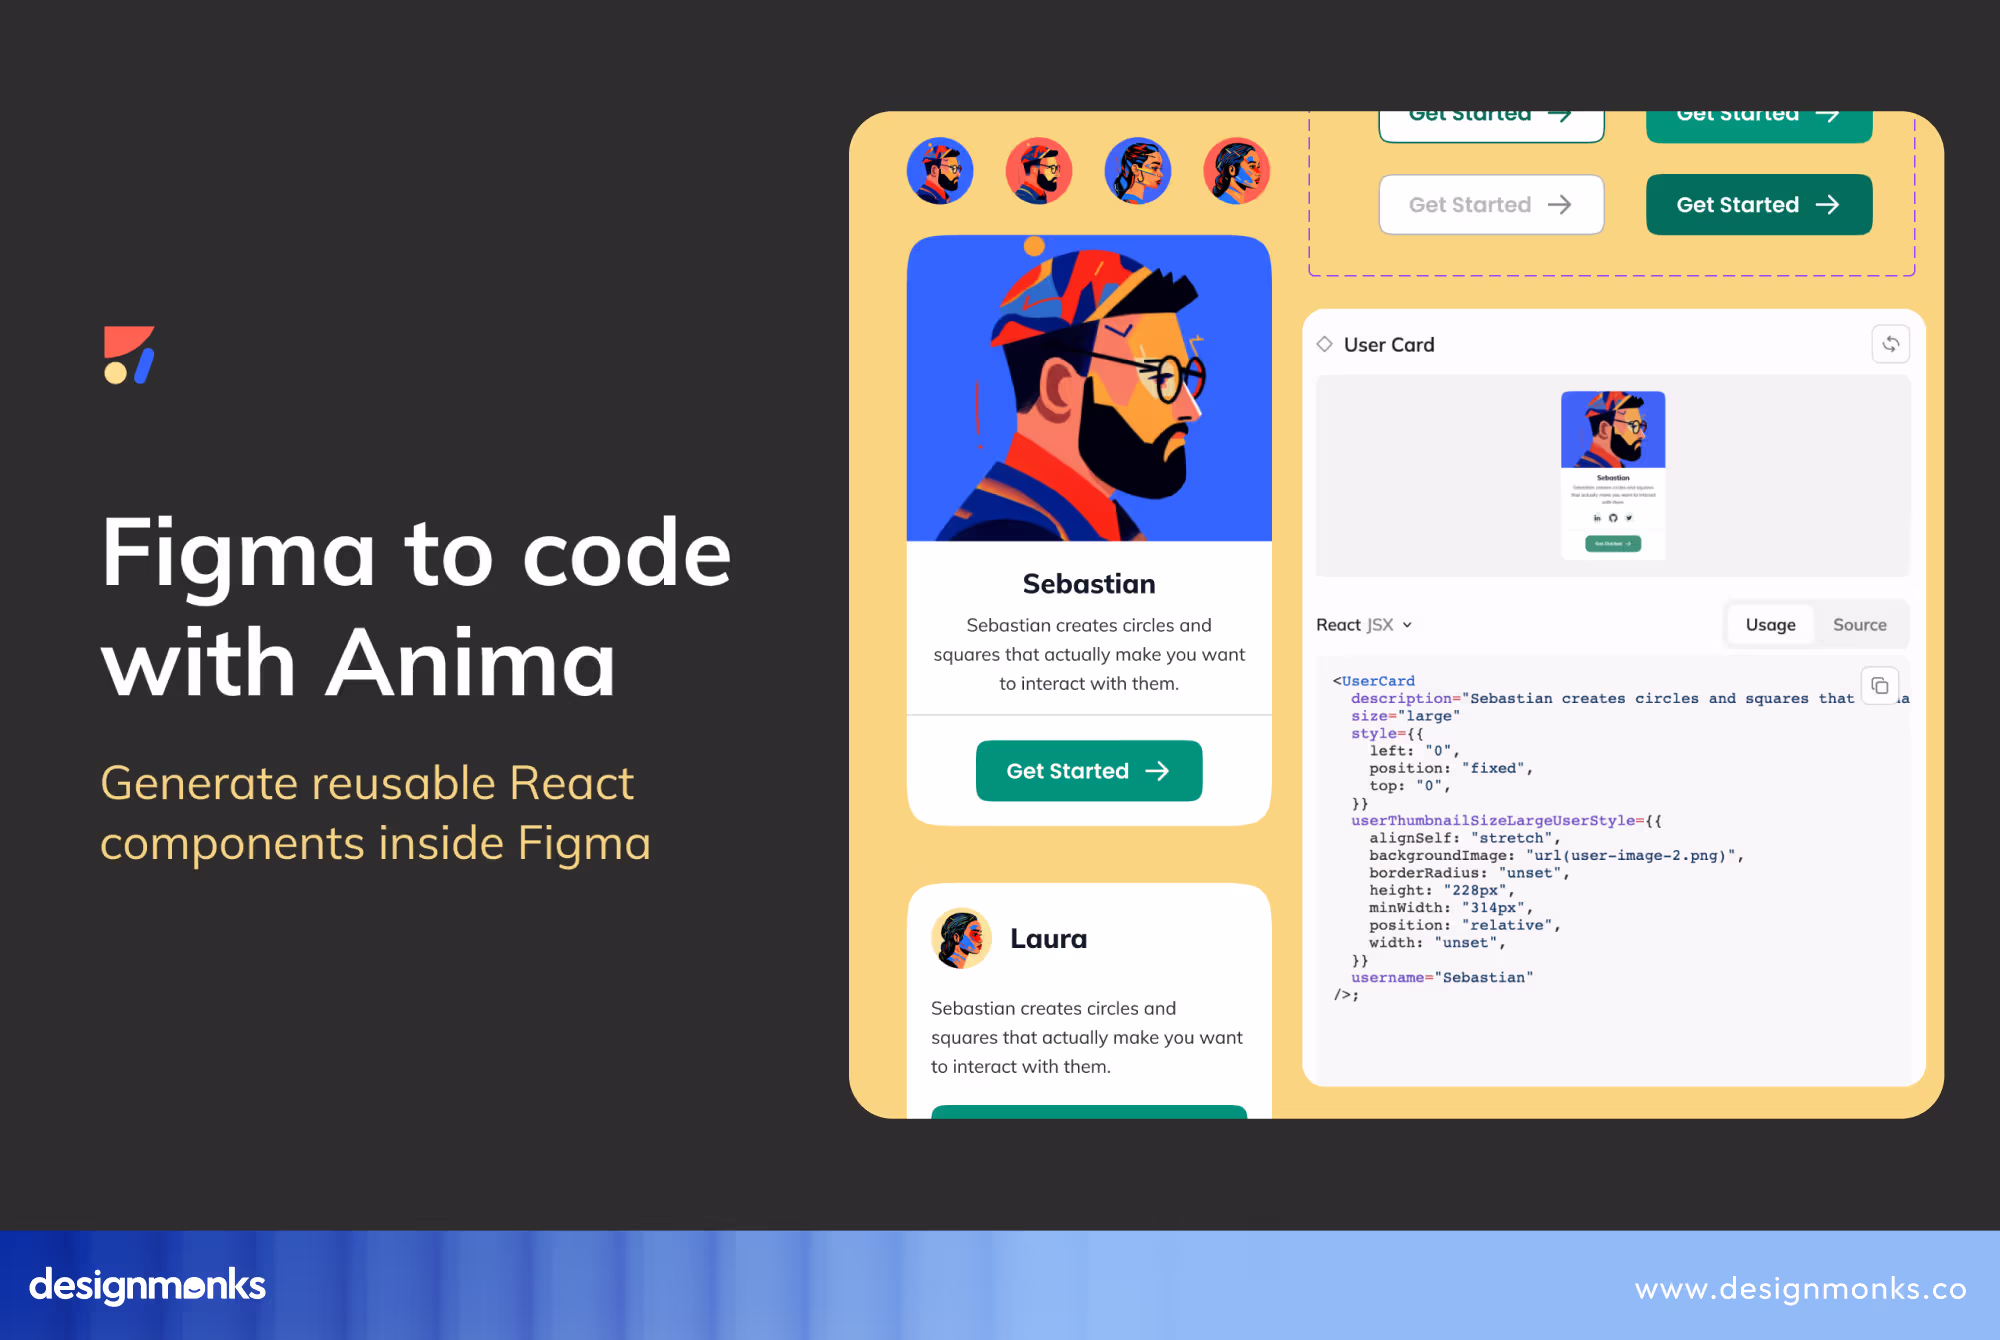
The next option to publish a website directly from Figma to the web is using Anima. This plugin is also very easy to use. Eventually, the process is simpler than the previous ones. Here's how you can use Anima:
- Install the Anima Plugin: In Figma, search for "Anima" in the Plugins section and install it.
- Prepare Your Design: Ensure your design is complete. Use Auto Layout for a responsive layout. Then, set the flow in the prototype tab to make the correct frame your homepage.
- Sync Your Design: Open the Anima plugin and sync your design to a project in Anima.
- Preview Your Website: Use the Anima web app to preview your site and verify everything looks correct.
- Publish Your Website: In the Anima web app, navigate to Project Settings. Enable a public link for free sharing or set up a custom domain for Pro users.
- Update Your Website: Sync any design changes in Figma to Anima and publish to update your live site.
5. TeleportHQ
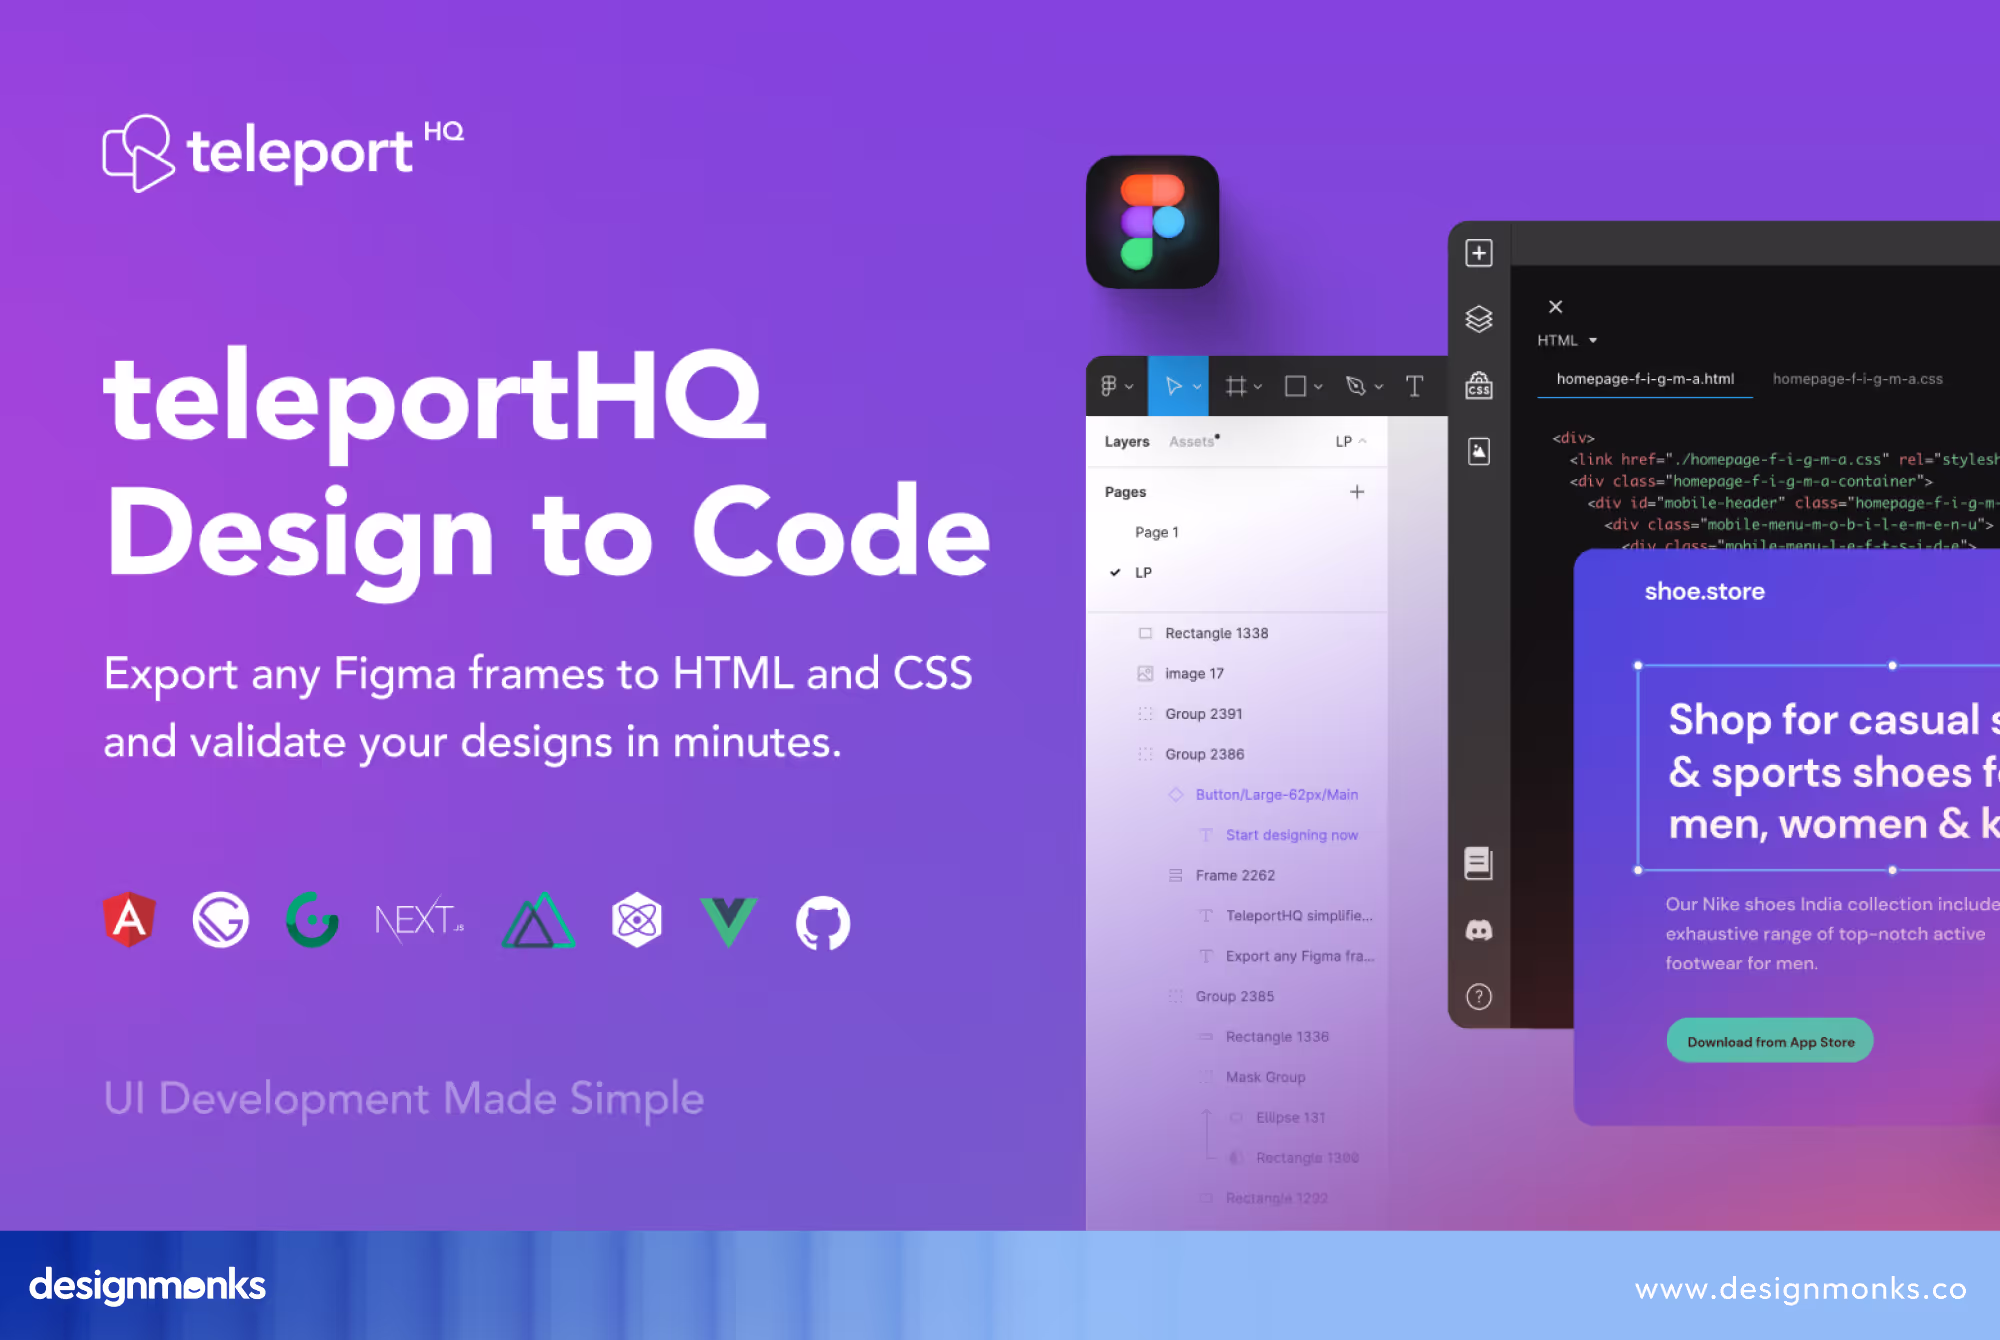
You can also publish a website directly from Figma to the web using TeleportHQ, follow these steps:
- Install the TeleportHQ Plugin: Instal the "TeleportHQ Design to Code" plugin in Figma. This plugin enables you to export your designs directly into TeleportHQ.
- Prepare Your Figma Design: Organize your design using Auto Layout to ensure responsiveness.
- Export to TeleportHQ: Select the frames or components you want to publish, then use the plugin to export them to TeleportHQ. The plugin converts your design into code and imports it into the TeleportHQ platform.
- Customize in TeleportHQ: In TeleportHQ, you can refine your design. For that, adjusting layouts, add interactions, and use pre-built components.
- Preview and Publish: Check the preview of your website on different devices to ensure responsiveness. If everything is okay, publish your site on a TeleportHQ subdomain or your custom domain.
6. Locofy
Publishing a website from Figma to the web using Locofy is a streamlined process. This plugin works better to fill the gap between design and development. Here’s how to do it:
Step 1: Install the Locofy Plugin
First, add the Locofy plugin to Figma from the Plugins section. This plugin lets you export your Figma designs seamlessly to Locofy for further customization and deployment.
Step 2: Prepare and Optimize Your Design
Before exporting, you should organize your design layers and components with clear naming conventions. As usual, utilize Figma’s Auto Layout and ensure your design is responsive. Run the Design Optimizer in Locofy to clean up your design structure to generate clean and responsive code.
Step 3: Tag and Sync Your Components
Use the Locofy plugin to tag your design elements. Here, you can define their functionality like buttons or inputs. You can utilize the Auto-Tagging feature for efficiency. After tagging, sync your design to the Locofy Builder for further customization.
Step 4: Customize and Preview
In Locofy Builder, you can easily enhance your design by adding interactivity and integrating with UI libraries like Material UI or Bootstrap. Make sure to check to preview of your website to ensure it works perfectly on all devices.
Step 5: Publish and Maintain
Finally, you can deploy your site using Locofy’s integration with cloud hosting services like Netlify or Vercel. Keep your site updated by syncing any changes from Figma to Locofy.
7. Builder
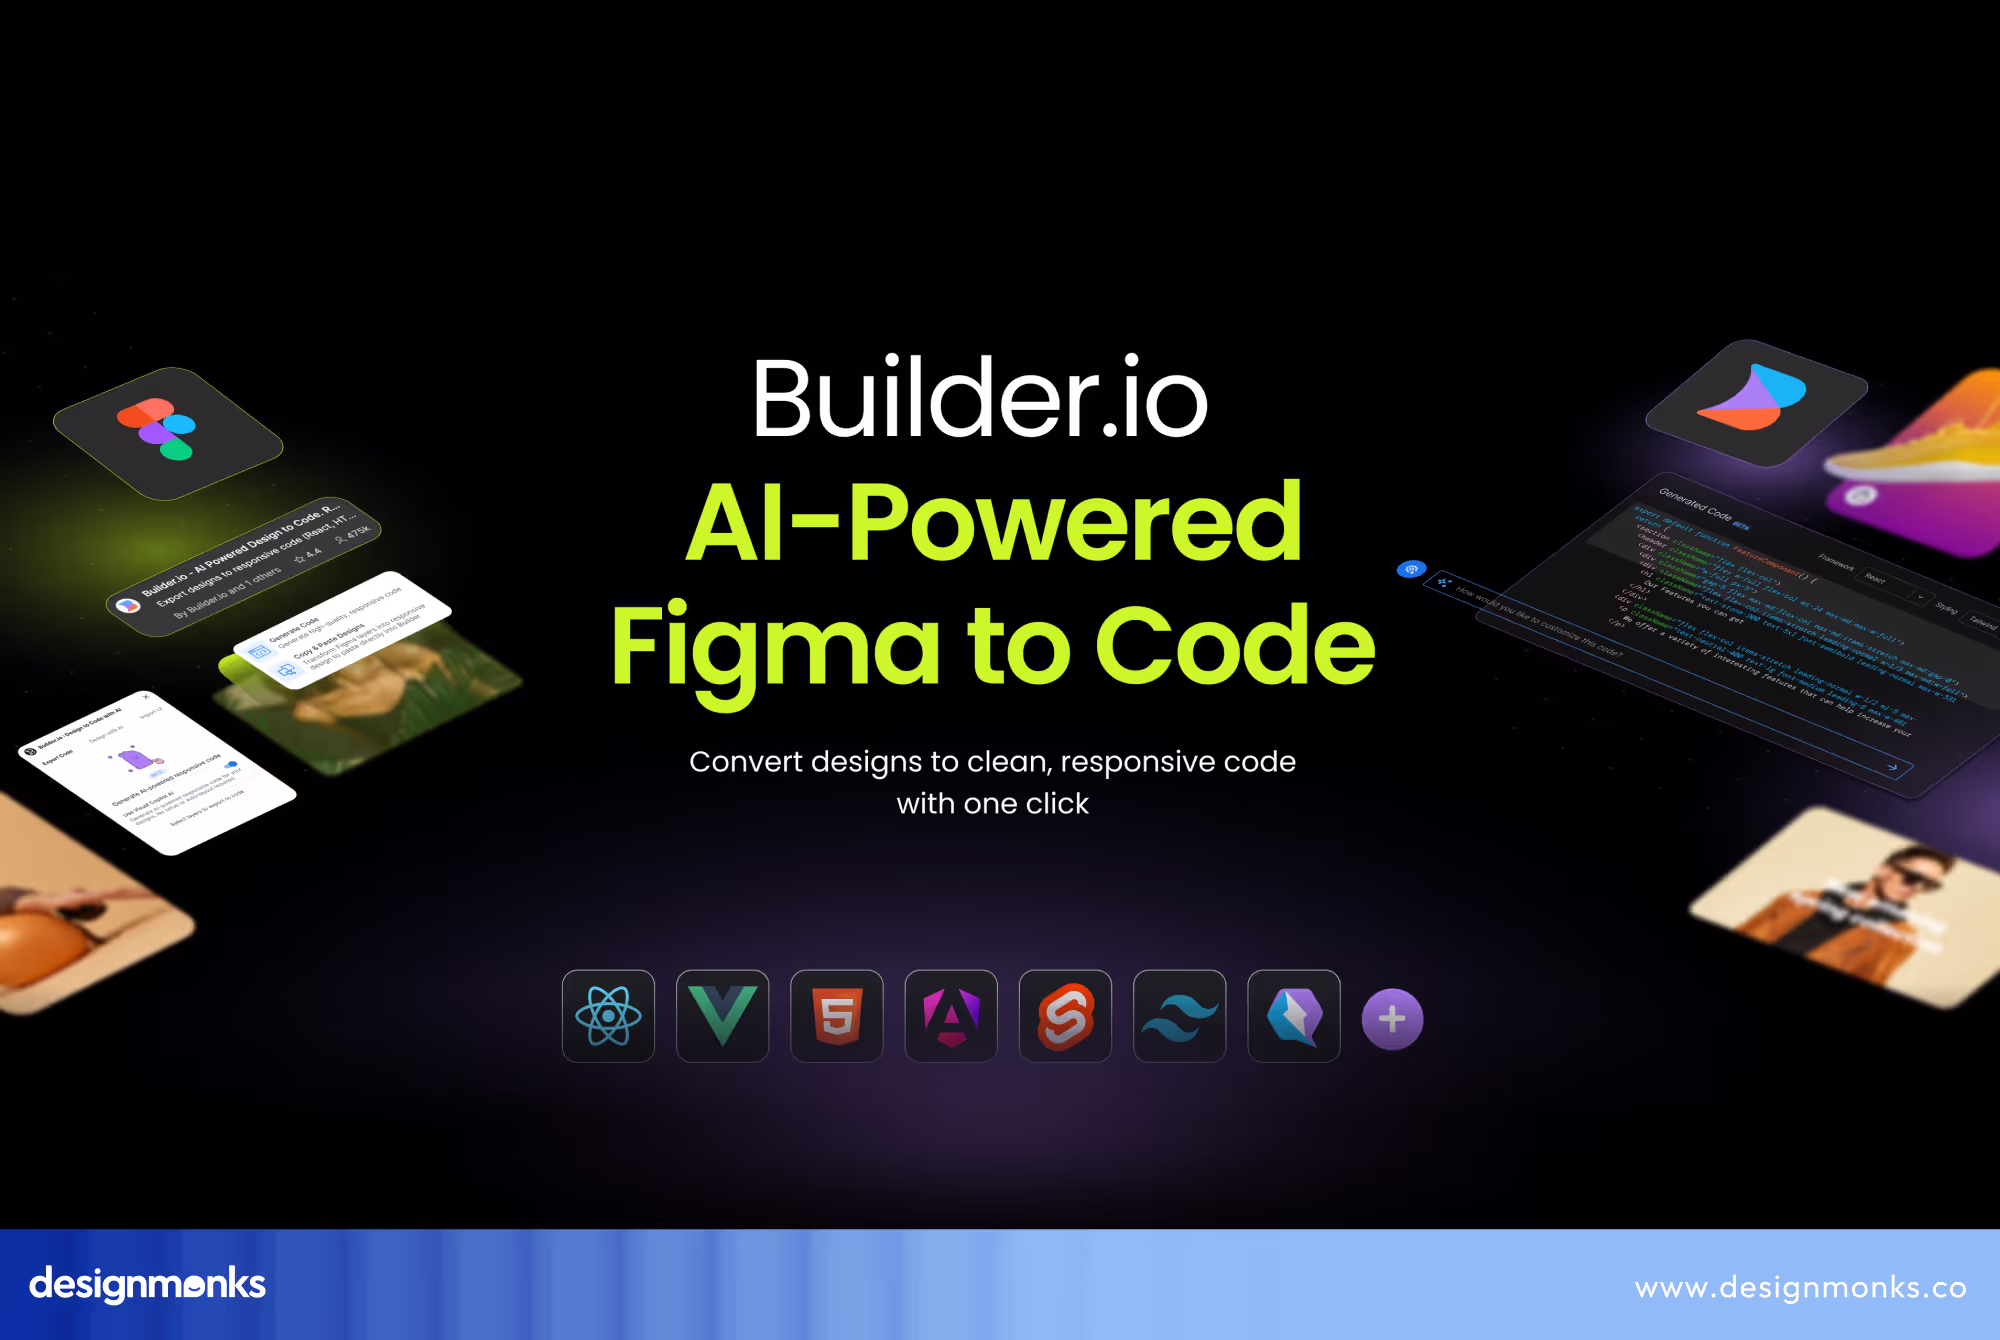
The next option is the Builder.io plugin. You can install this plugin by searching for "Builder.io" in the Plugins section of Figma. Then, add it to your workspace. It'll ensure a smooth export of your Figma designs to this plugin for further customization.
Next, prepare your Figma design in the same ways the above options do. As usual, use Figma's Auto Layout to create responsive designs that adapt well when moved to Builder.io. Once the design is ready, select the frames you want to export.
Finally, open this plugin in Figma and export your selected frames. After exporting, go to the Builder page, where you can edit and enhance your design. When ready, publish your website directly from Builder.io, either on their platform or a custom domain.
8. Bravo Studio
Lastly, you can use Brave Studio. This one is also very easy to use with no special requirements. As usual, the process is almost similar to the other options. Let’s check it out:
Step 1: Prepare Your Figma Design
First, you need to make sure your design is responsive for different screen sizes. Bravo Studio focuses on mobile app development, so your design should work well on smaller screens. Use Bravo tags in your Figma layers to define functionality, like naming a splash screen as [asset:splash] for recognition in Bravo.
Step 2: Export Your Design to Bravo Studio
Connect to Bravo Studio by opening the platform and creating a new project. Use the Bravo plugin in Figma to export your design. Navigate to the plugins menu in Figma, select the frames you want to export, and send them to Bravo Studio.
Step 3: Configure Your App in Bravo Studio
Set up screens such as splash screens or intro screens after importing your design. Use Bravo Studio’s tools to test interactions within your app, like linking screens and setting up navigation.
Step 4: Preview and Test Your App
Share your app with testers using the Bravo Vision previewer app. This allows you to gather feedback and make adjustments before launching.
Step 5: Publish Your App
Finalize your app settings in Bravo Studio, then build and publish it for Android and iOS. Follow Bravo Studio’s instructions to distribute your app on app stores or directly to users.

FAQs
Can I customize the exported code from Figma plugins?
Yes, platforms like Builder.io and Webflow let you customize exported code extensively. You can modify layouts, and styles, and add interactive elements to ensure that your website meets specific requirements and maintains design integrity.
Are Figma plugins beginner-friendly?
Many Figma plugins are designed and they don't require coding knowledge. Webflow and Bravo Studio offer user-friendly, no-code environments. On the other hand, Locofy provides low-code options to make them accessible even for users with minimal coding knowledge.
What hosting options are available after exporting from Figma?
After exporting, platforms like Webflow and Locofy offer built-in hosting services. You can also deploy your site to external services like Netlify, Vercel, or custom domains, providing flexibility in choosing your hosting solution.
End Note
For sure, using Figma plugins to publish websites directly to the web streamlines the design-to-development process. You have already met eight powerful plugins that let you turn your Figma creations into functional, live websites without extensive coding.
Here, each plugin offers unique features for different needs, like responsive design, mobile app development, etc. So, carefully choose the right plugin to

.avif)
.avif)
.avif)
.avif)


.avif)
.avif)
.avif)
.avif)


.avif)